
If you follow me on Instagram or read this blog frequently, then you already know that I’m obsessed with trash. Not in a strange, dumpster-diving kind of a way. Just in a I’m-obsessed-with-crafting-but-spend-all-my-money-on-clothes-so-I’m-forced-to-repurpose-things-from-around-the-house kind of way. You know what I mean?
As this is the second instalment of the “Your Trash My __________” series, I’ve decided to up the ante (and scale) a bit. Today’s craft is called “Your Trash Is My Kids Toy”. Or more specifically, my space-themed marble rollercoaster!
Did you guys grow up with these things?


I sure as hell did. I have so many fond memories of creating these massive structures with my brother and watching with glee as the marbles found their way to the bottom.
The nice ones can range from $40 to $60, which is just a little too much money to spend on a toy that will most definitely be destroyed in a matter of weeks. So today we’re going to make one from things found around the house. That is, if you really like crafting.
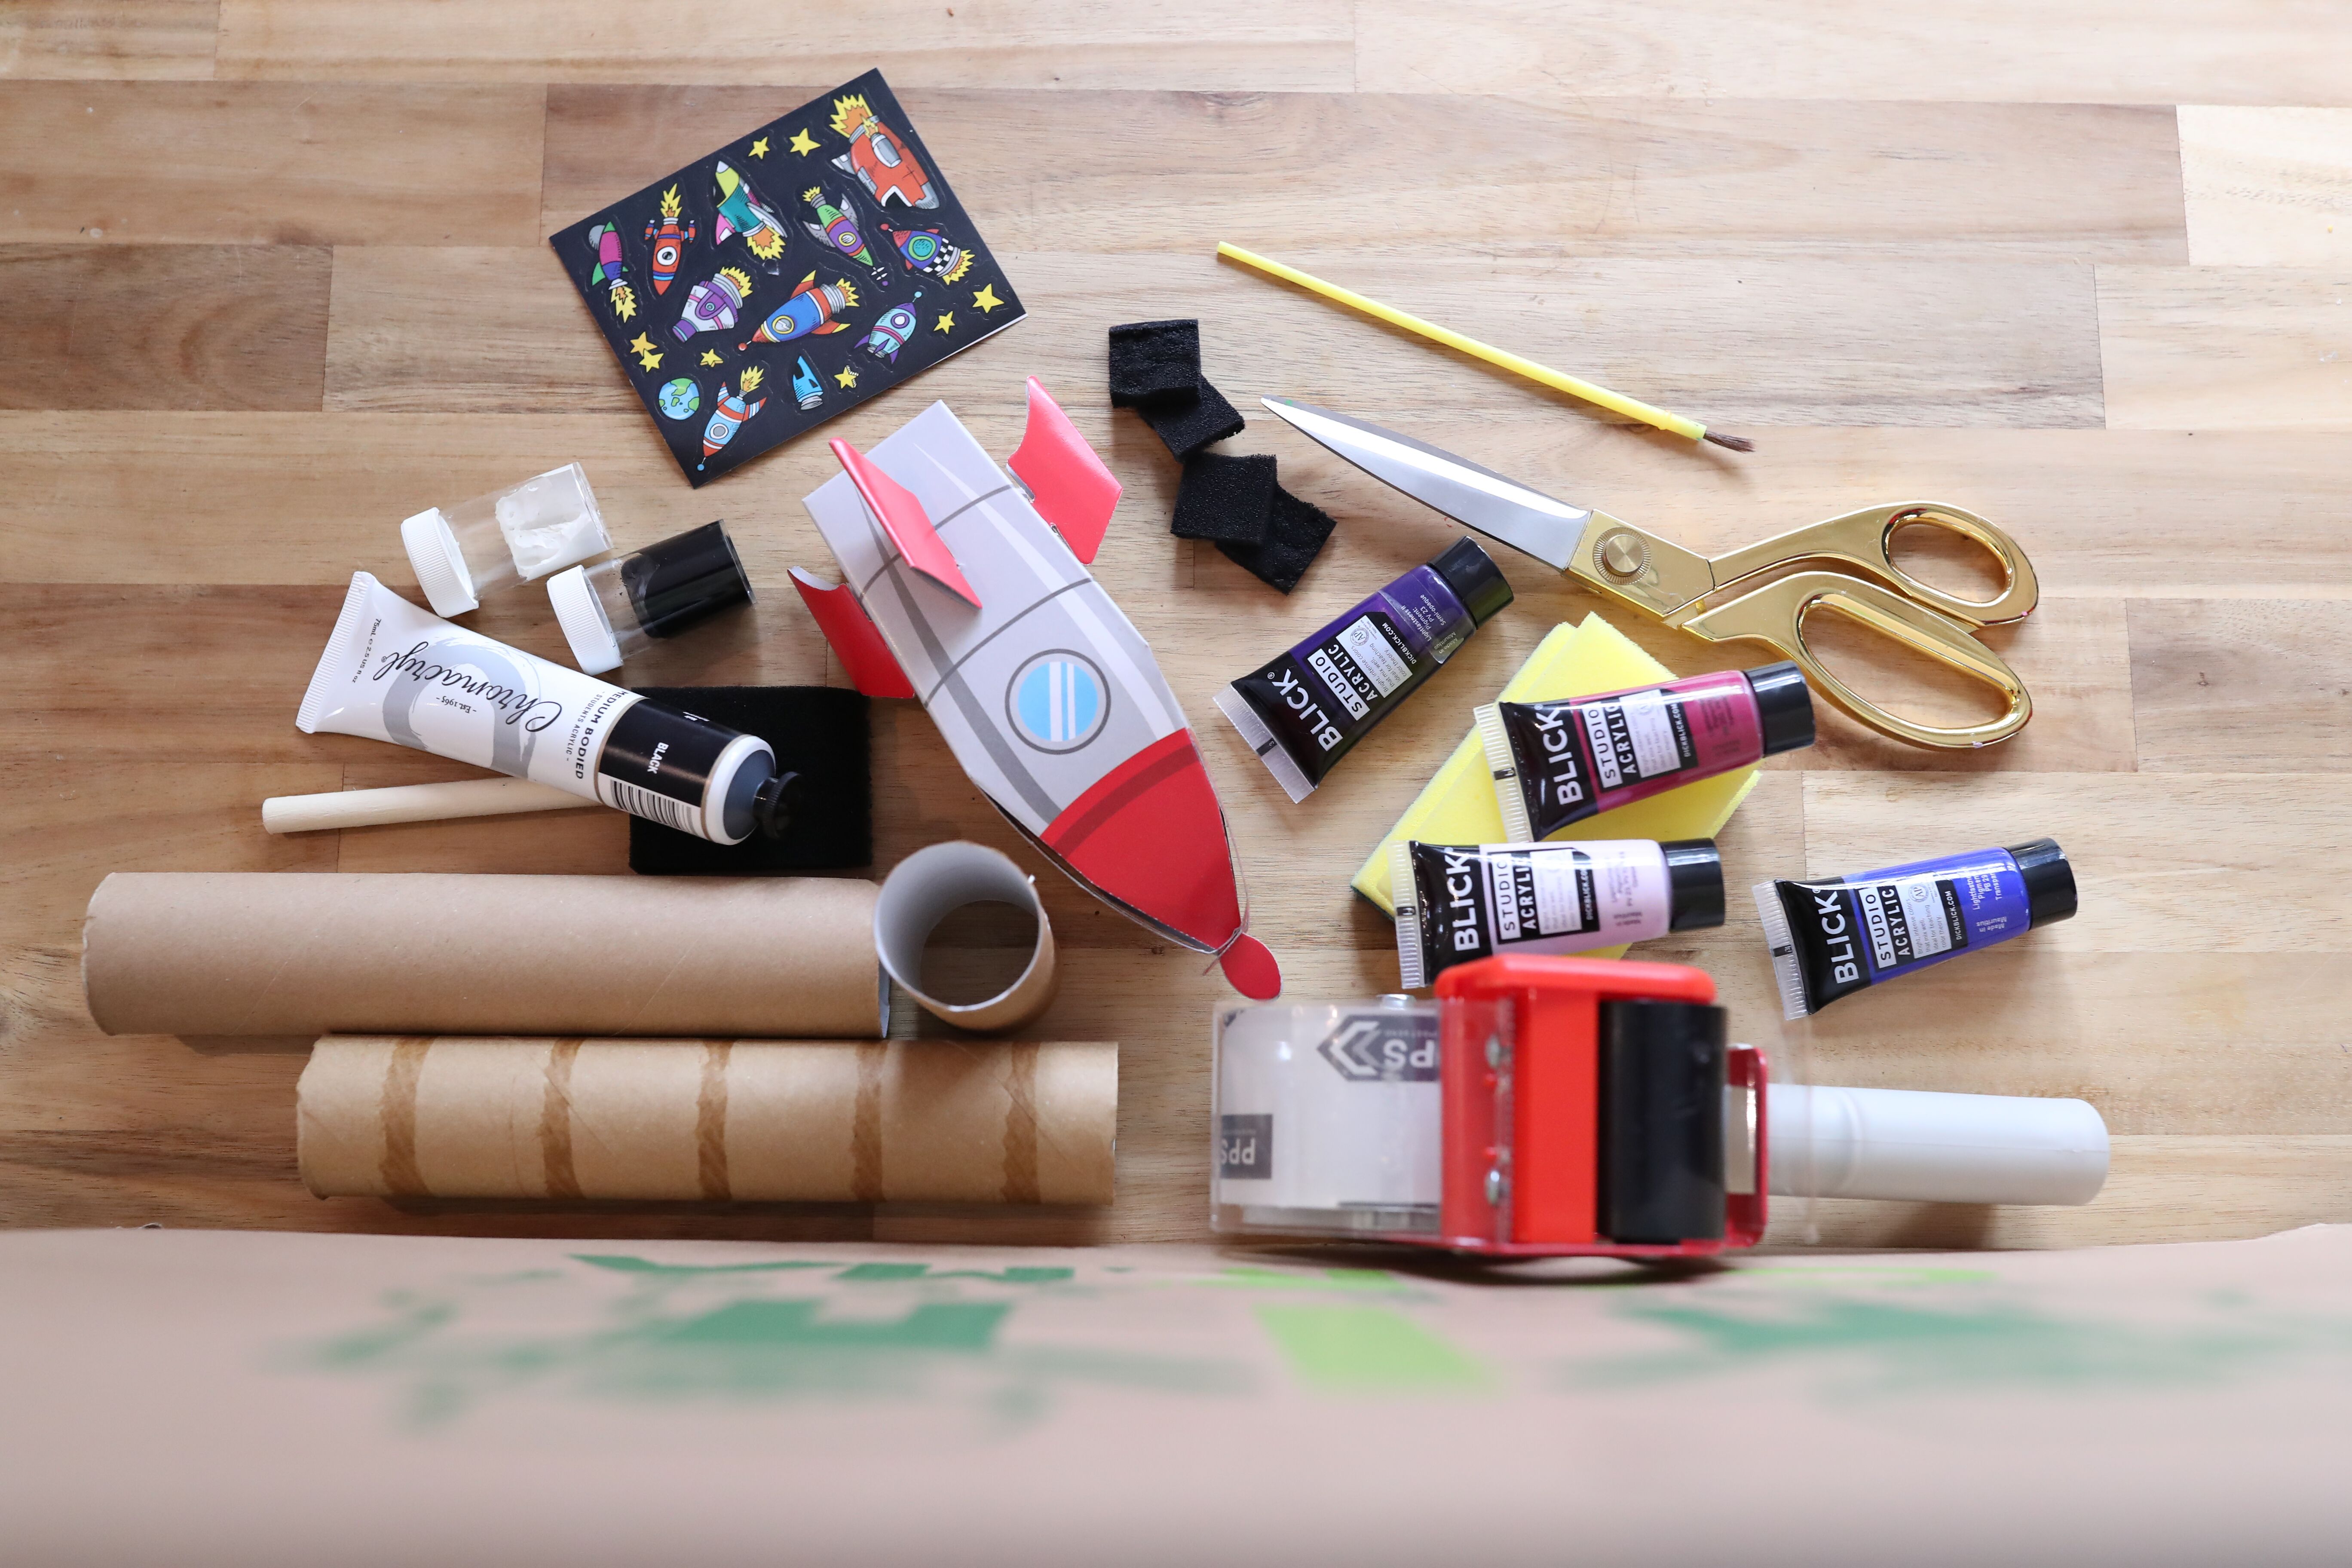
Here’s what you’ll need:
- 1 large cardboard box
- Toilet paper rolls (big and small)
- Scissors
- Tape
- An assortment of paint (top priorities: black, white, blue and purple)
- Paint brushes (big and small)
- Sponges
- Space stickers (stars and rocket ships)
- Bouncy balls or marbles (depending on the age of your child)
Step 1: Paint your box black.


Step 2: While the paint is drying, cut 1-inch strips out of your toilet paper rolls. You can cut as many of these as you’d like – the more you cut, the longer your track will be – but to replicate this one exactly, you’ll need to cut three large toilet paper rolls and two small ones. You’ll then want to leave one large and one small toilet paper roll whole.

Step 3: Paint all of the toilet paper rolls black.


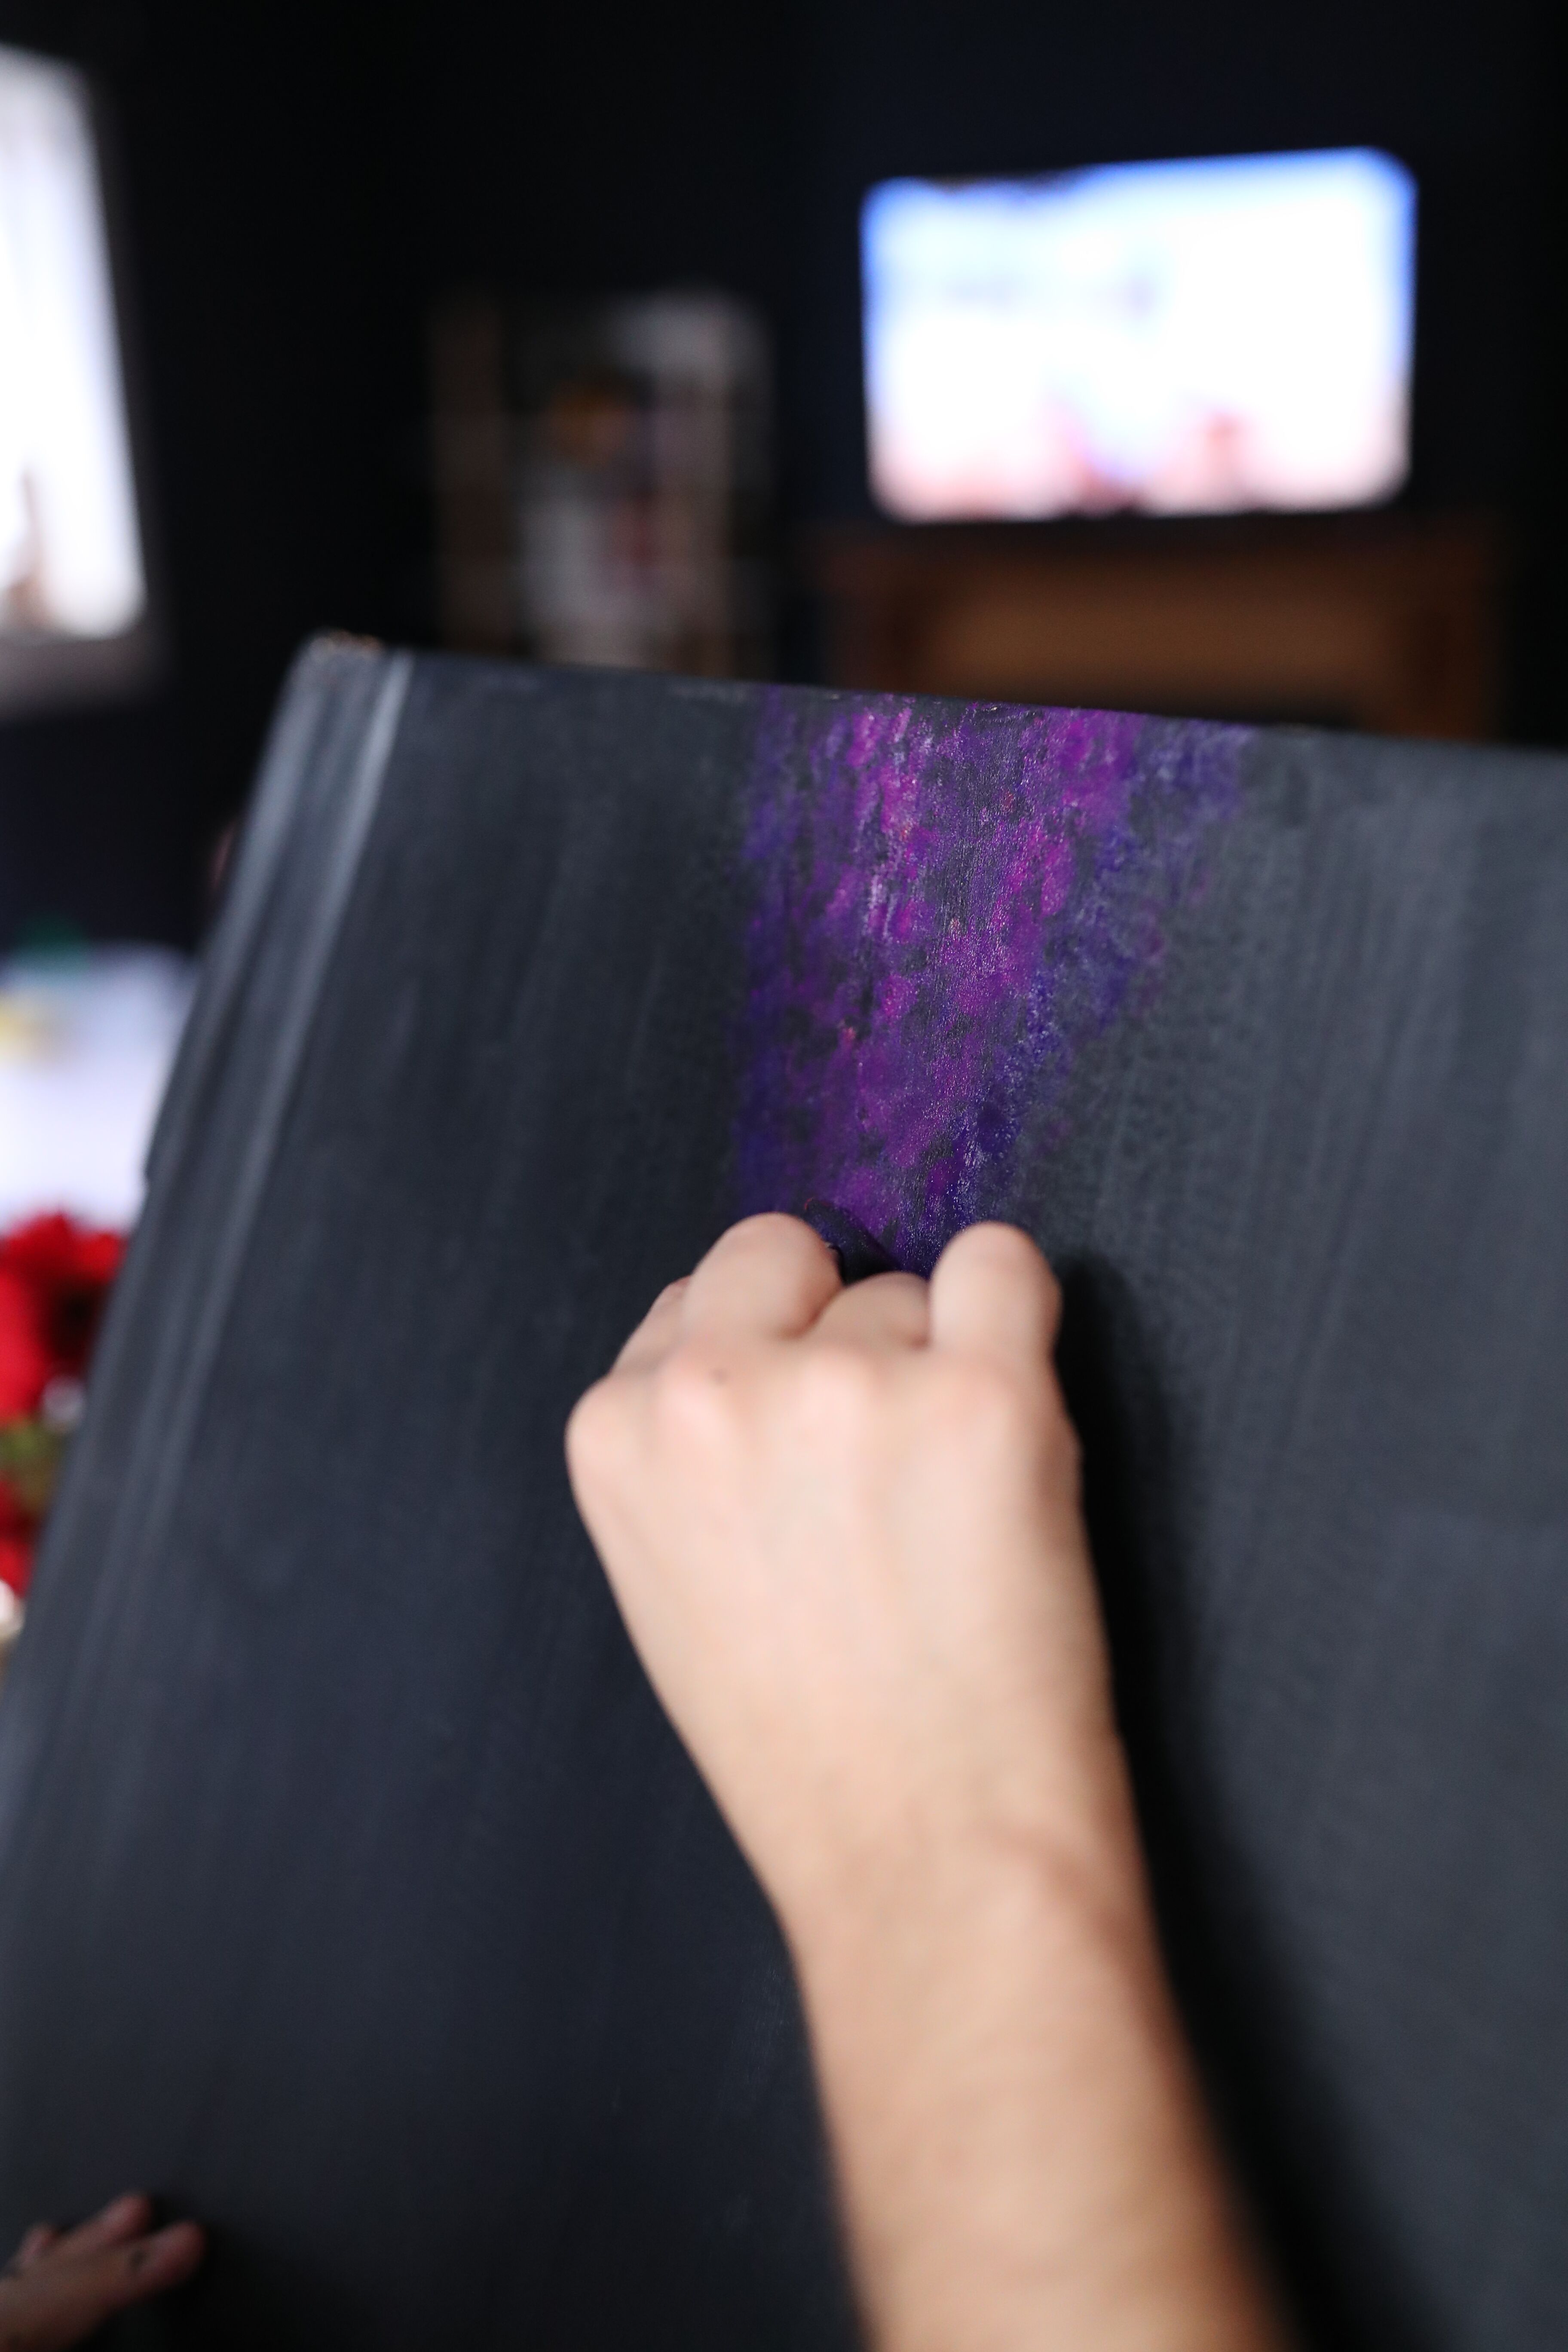
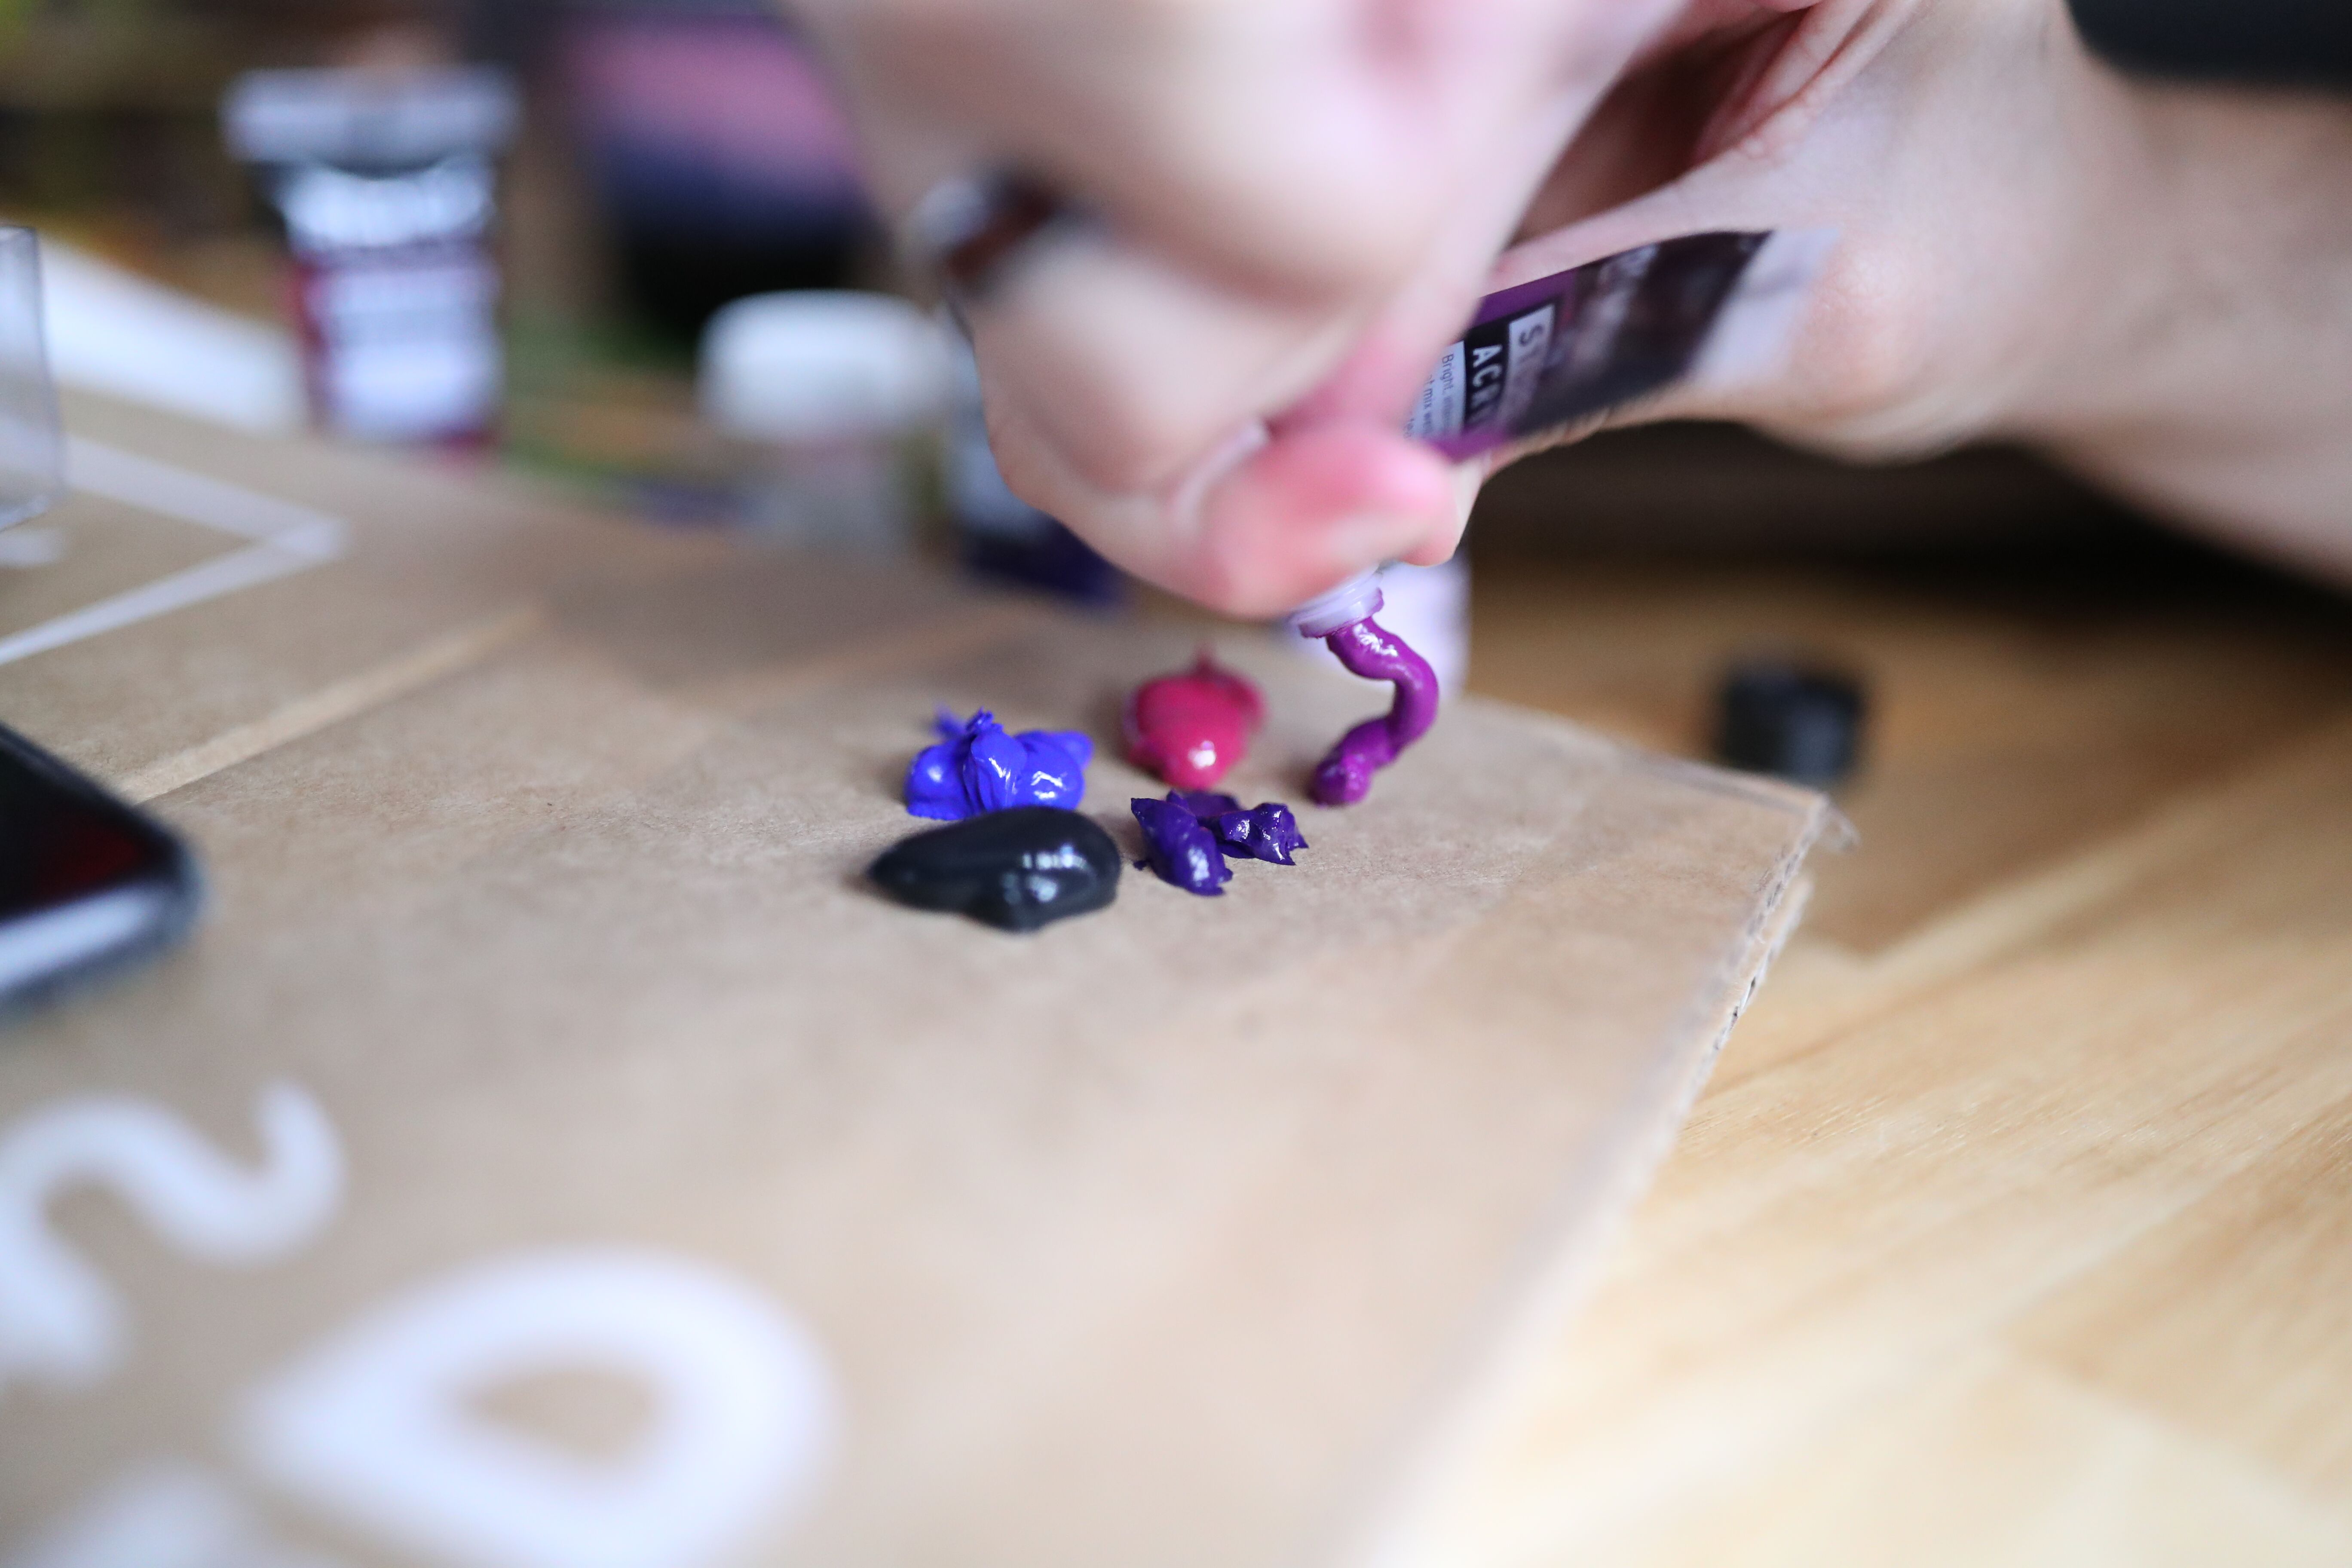
Step 4: Paint your galaxy. The best way to do this is to layer on colours from dark to light using a sponge. I have a bunch pre-cut from previous projects, but you can literally hack away at a kitchen sponge if you’d like. If you’re new to this technique, I’d suggest you Google photos of galaxies and attempt to replicate the patterns you find. I prefer creating my own designs by thinking of the black paint as land and the new colours I’m adding as river canals. Lay down your dark purple or blues as the edges of your river first, creating a path that cuts through the land. Then take your lighter colours and add on thinner layers to the inner edges of each “river”, making each canal pop.

Step 5: Add similar colours and patterns to your toilet paper rolls.
Step 6: Before moving onto Step 7, which will be the most fun you’ll have all week, I like to go in with a small brush and paint on some larger white stars and throw in some shooting stars if you’re feeling wild. You won’t be able to guarantee these with the splatter paint technique, so you’ll appreciate this step when the project is complete.

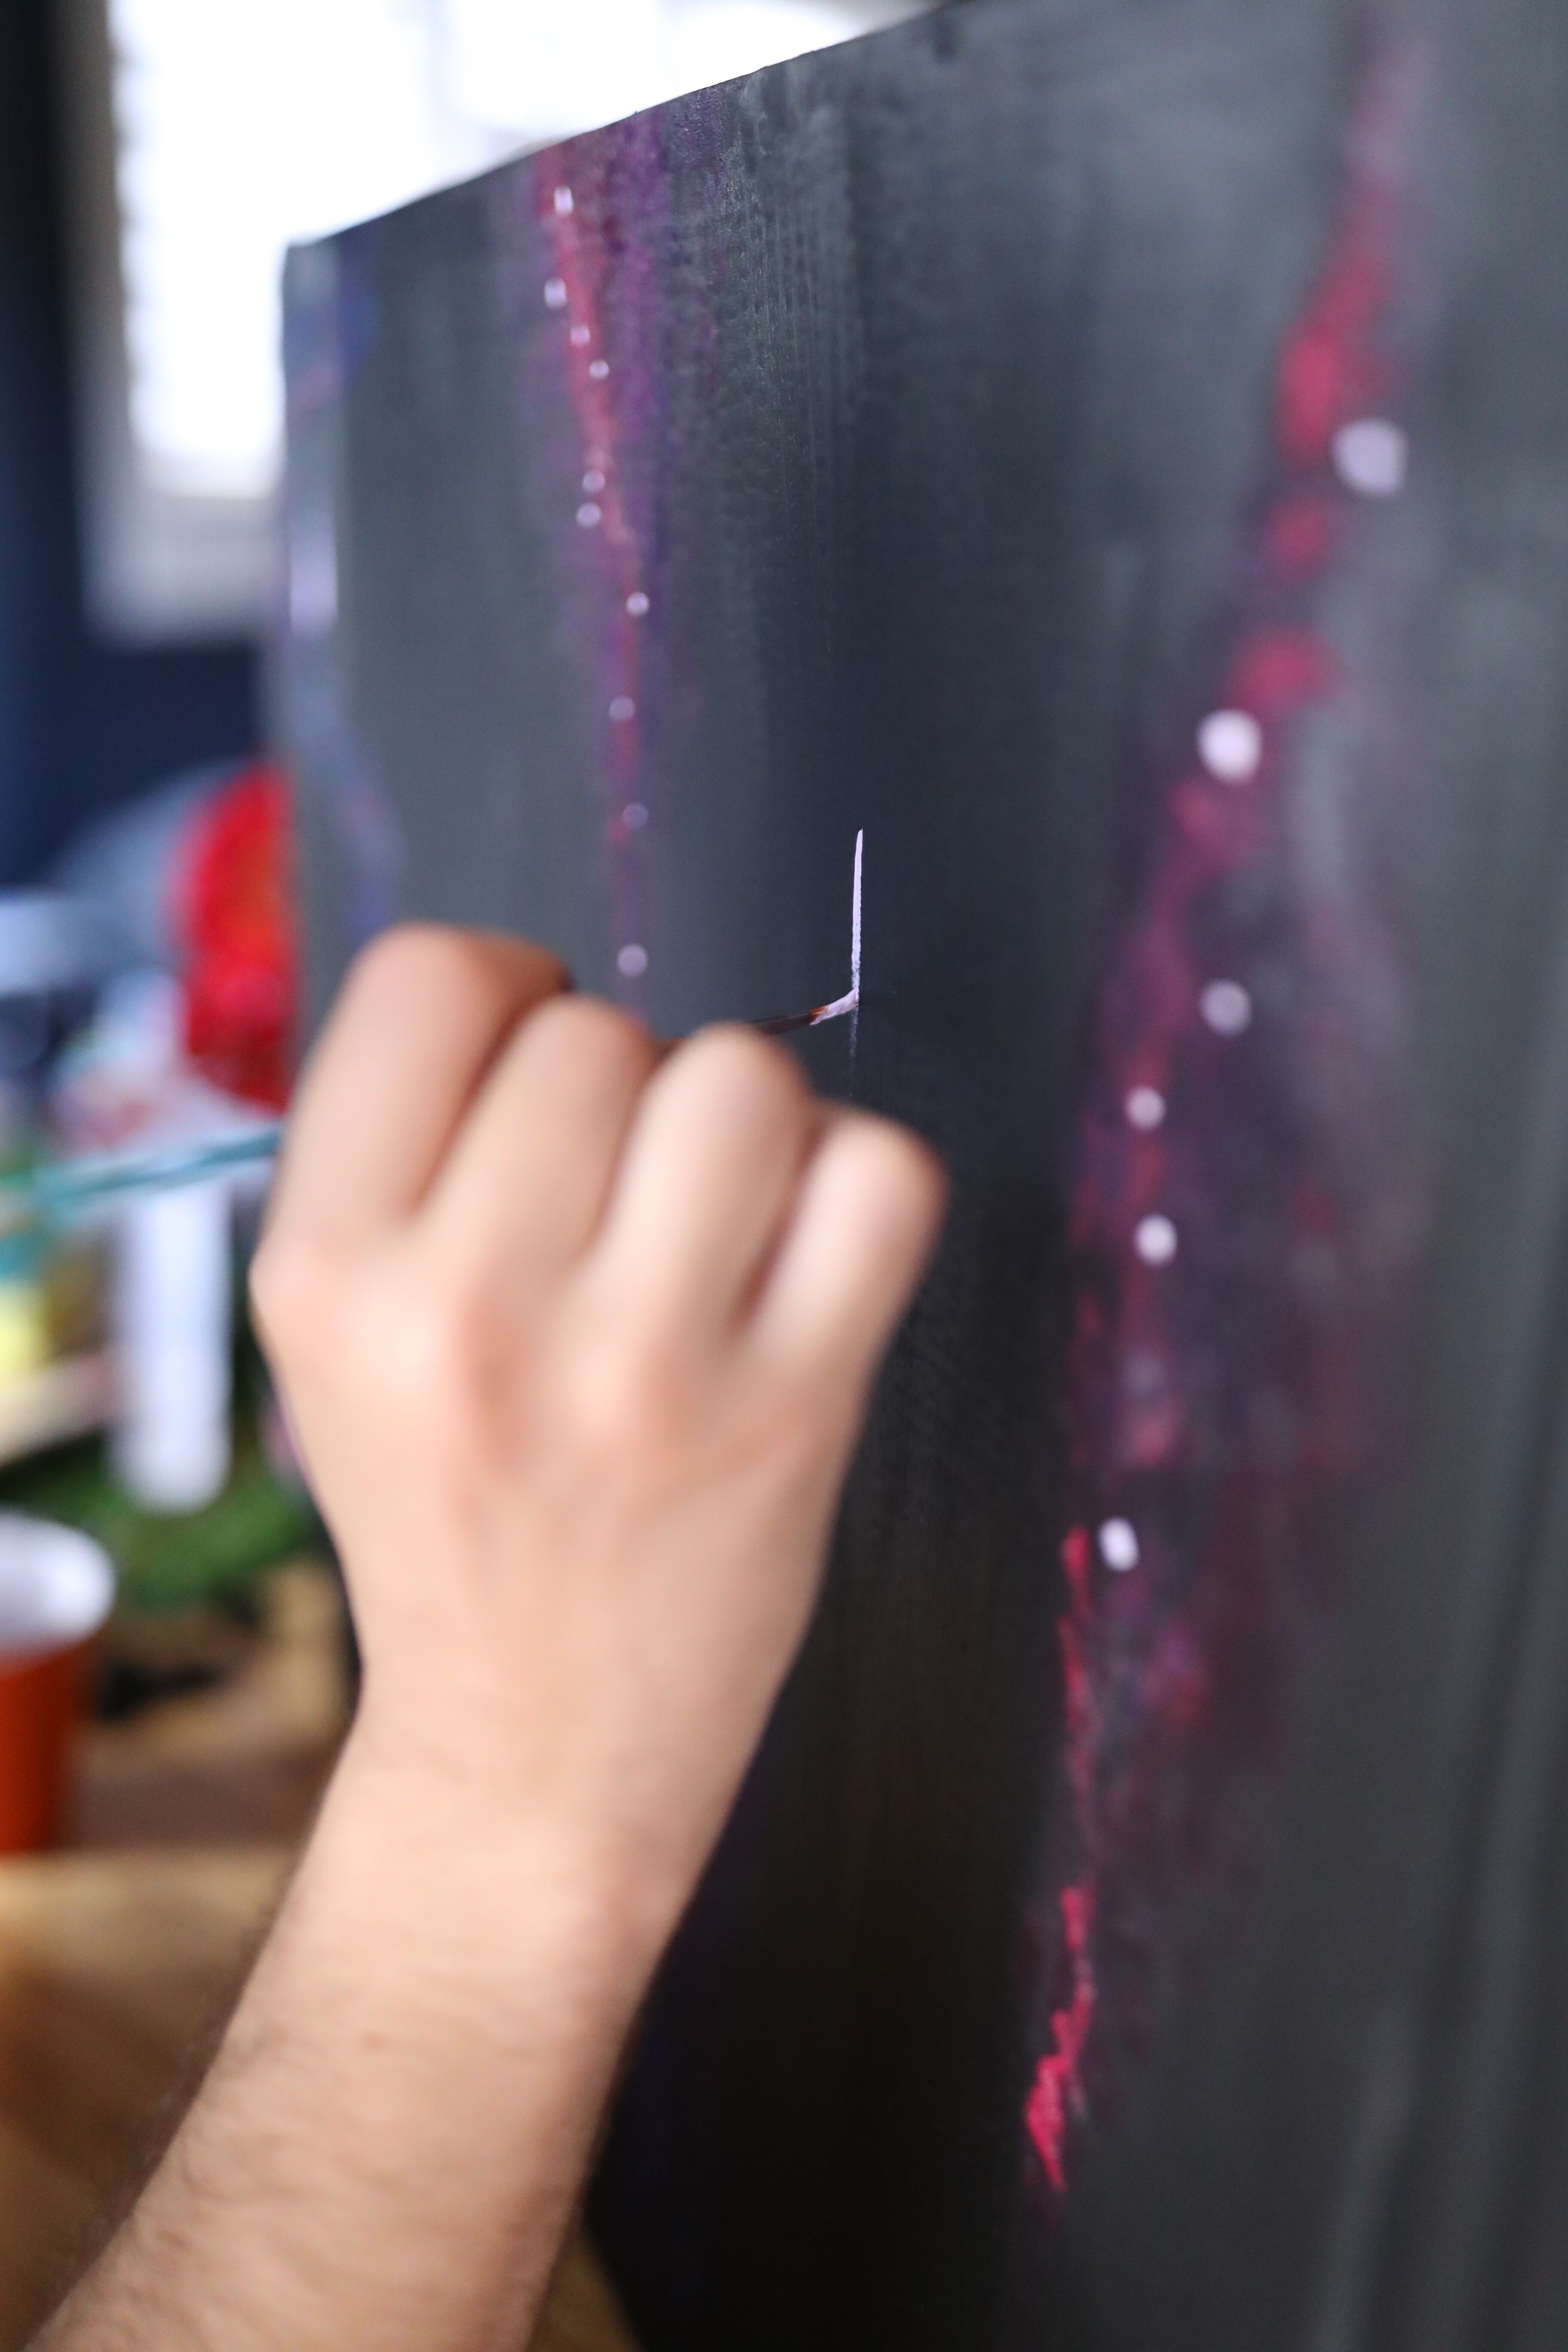
Step 7: Take your biggest paint brush and dip it into white paint that’s been mixed with a splash of water. With the brush hovering a few inches above your canvas, run your fingers along the edge of the brush, pulling up towards you. This movement will pull your finger away from the canvas and the paint will splatter down, raining stars on your dark sky.
Step 8: Repeat this step on your toilet paper rolls.


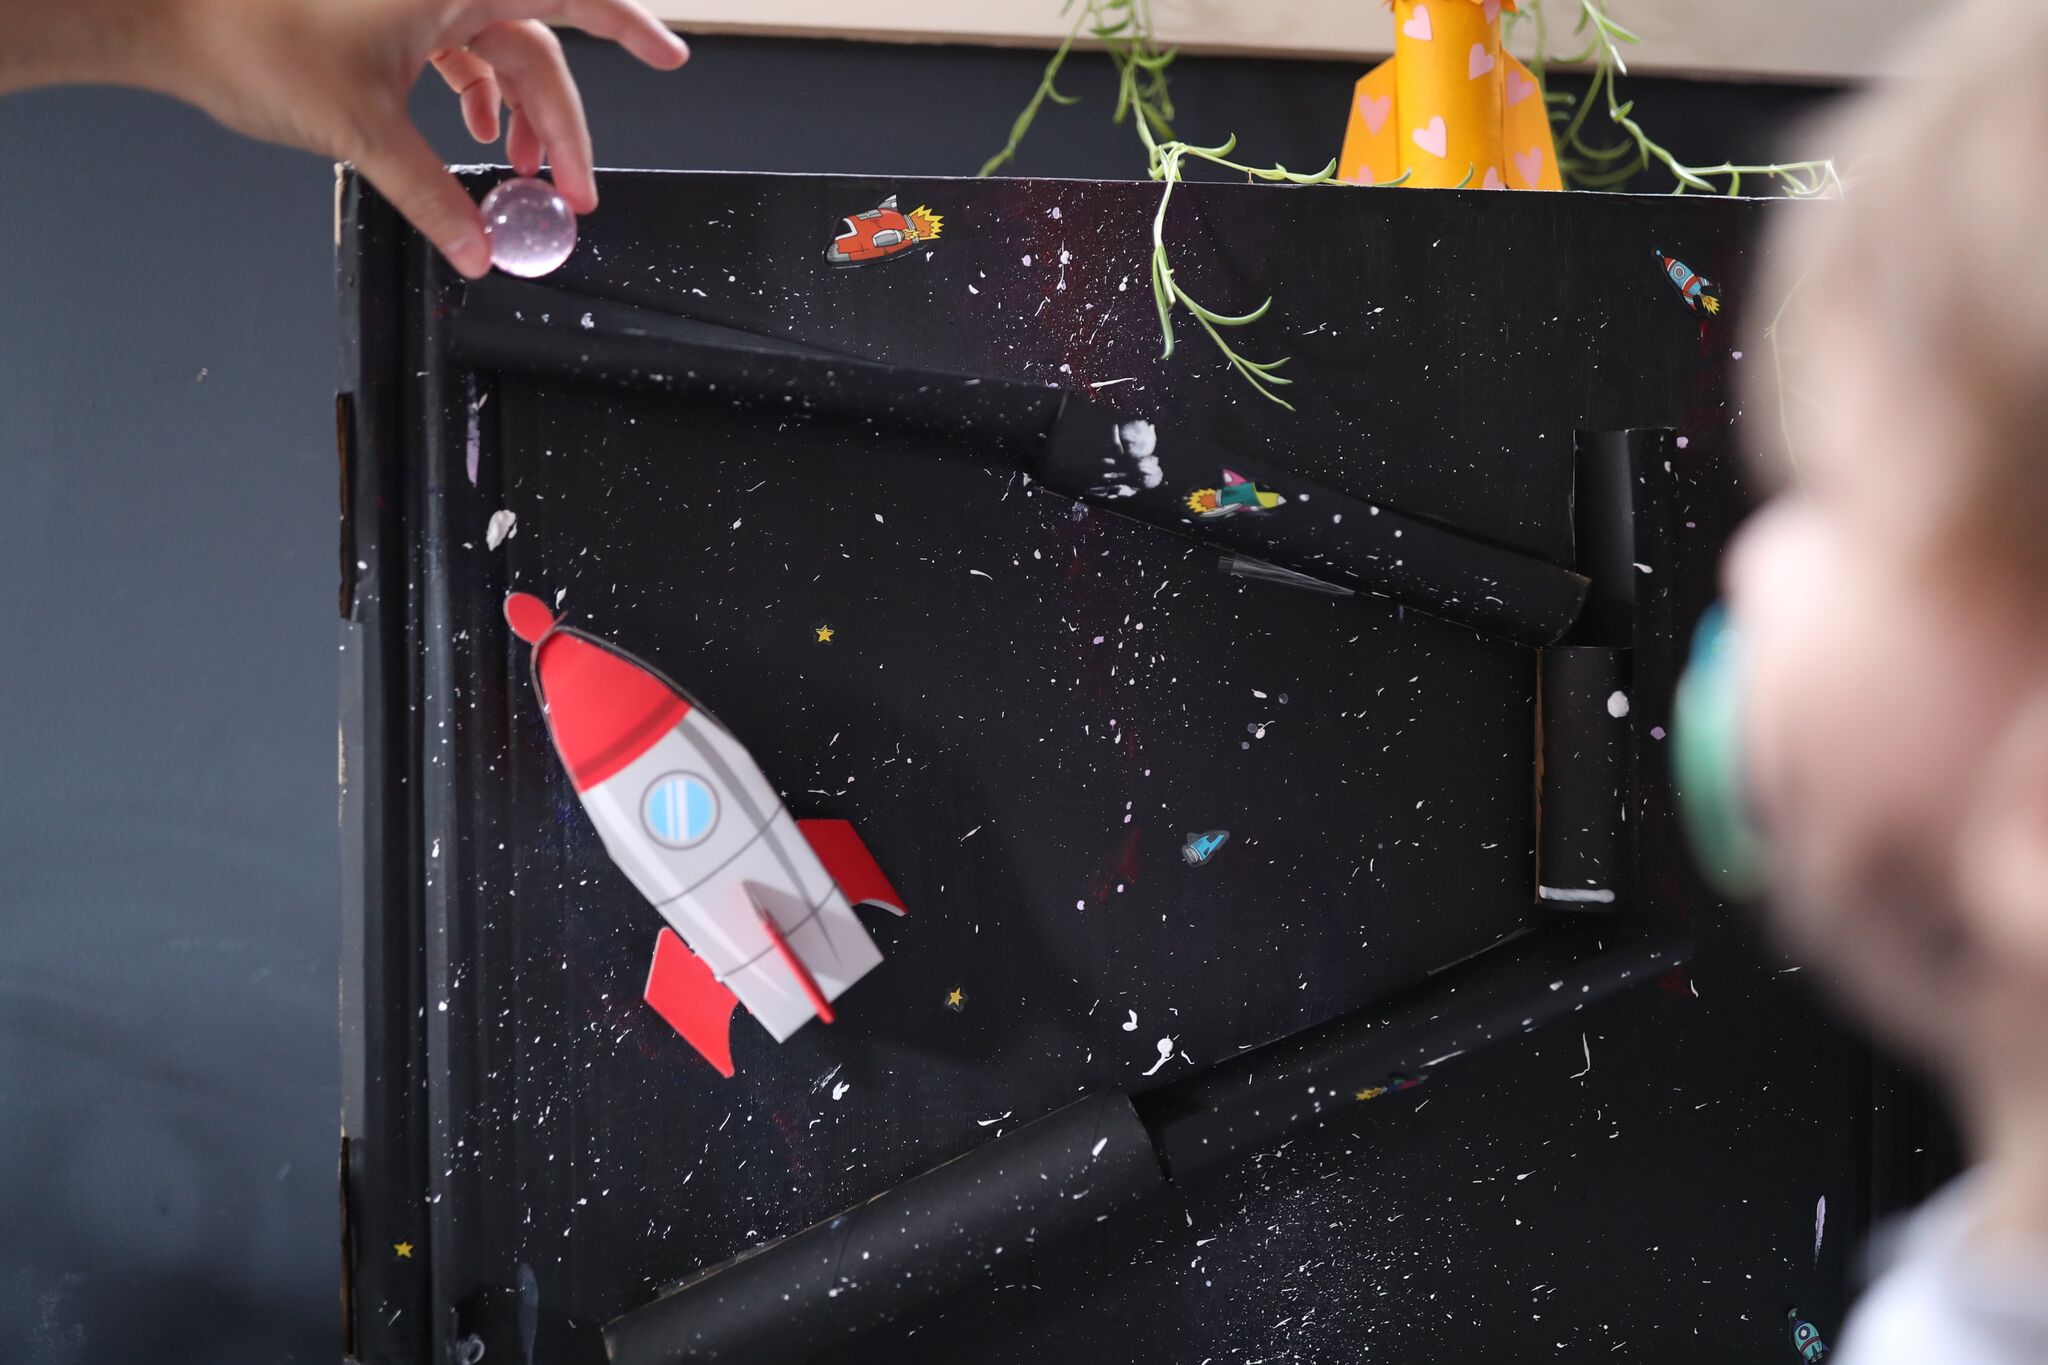
Step 9: Lay your toilet paper rolls down on your box, deciding what your path will be. Start at the top left and zig-zag your way to the bottom of the box. When you get to each side, add one of the small rolls as a backdrop. This allows a place for the ball to hit before dropping into the toilet paper roll below. This step of mapping our your desired path is quite important, as you’ll need to ensure that each leg of the track is touching and moving down at a steep enough angle for the balls to fall seamlessly.

Step 9: Once you’re happy with your track, tape the rolls down.
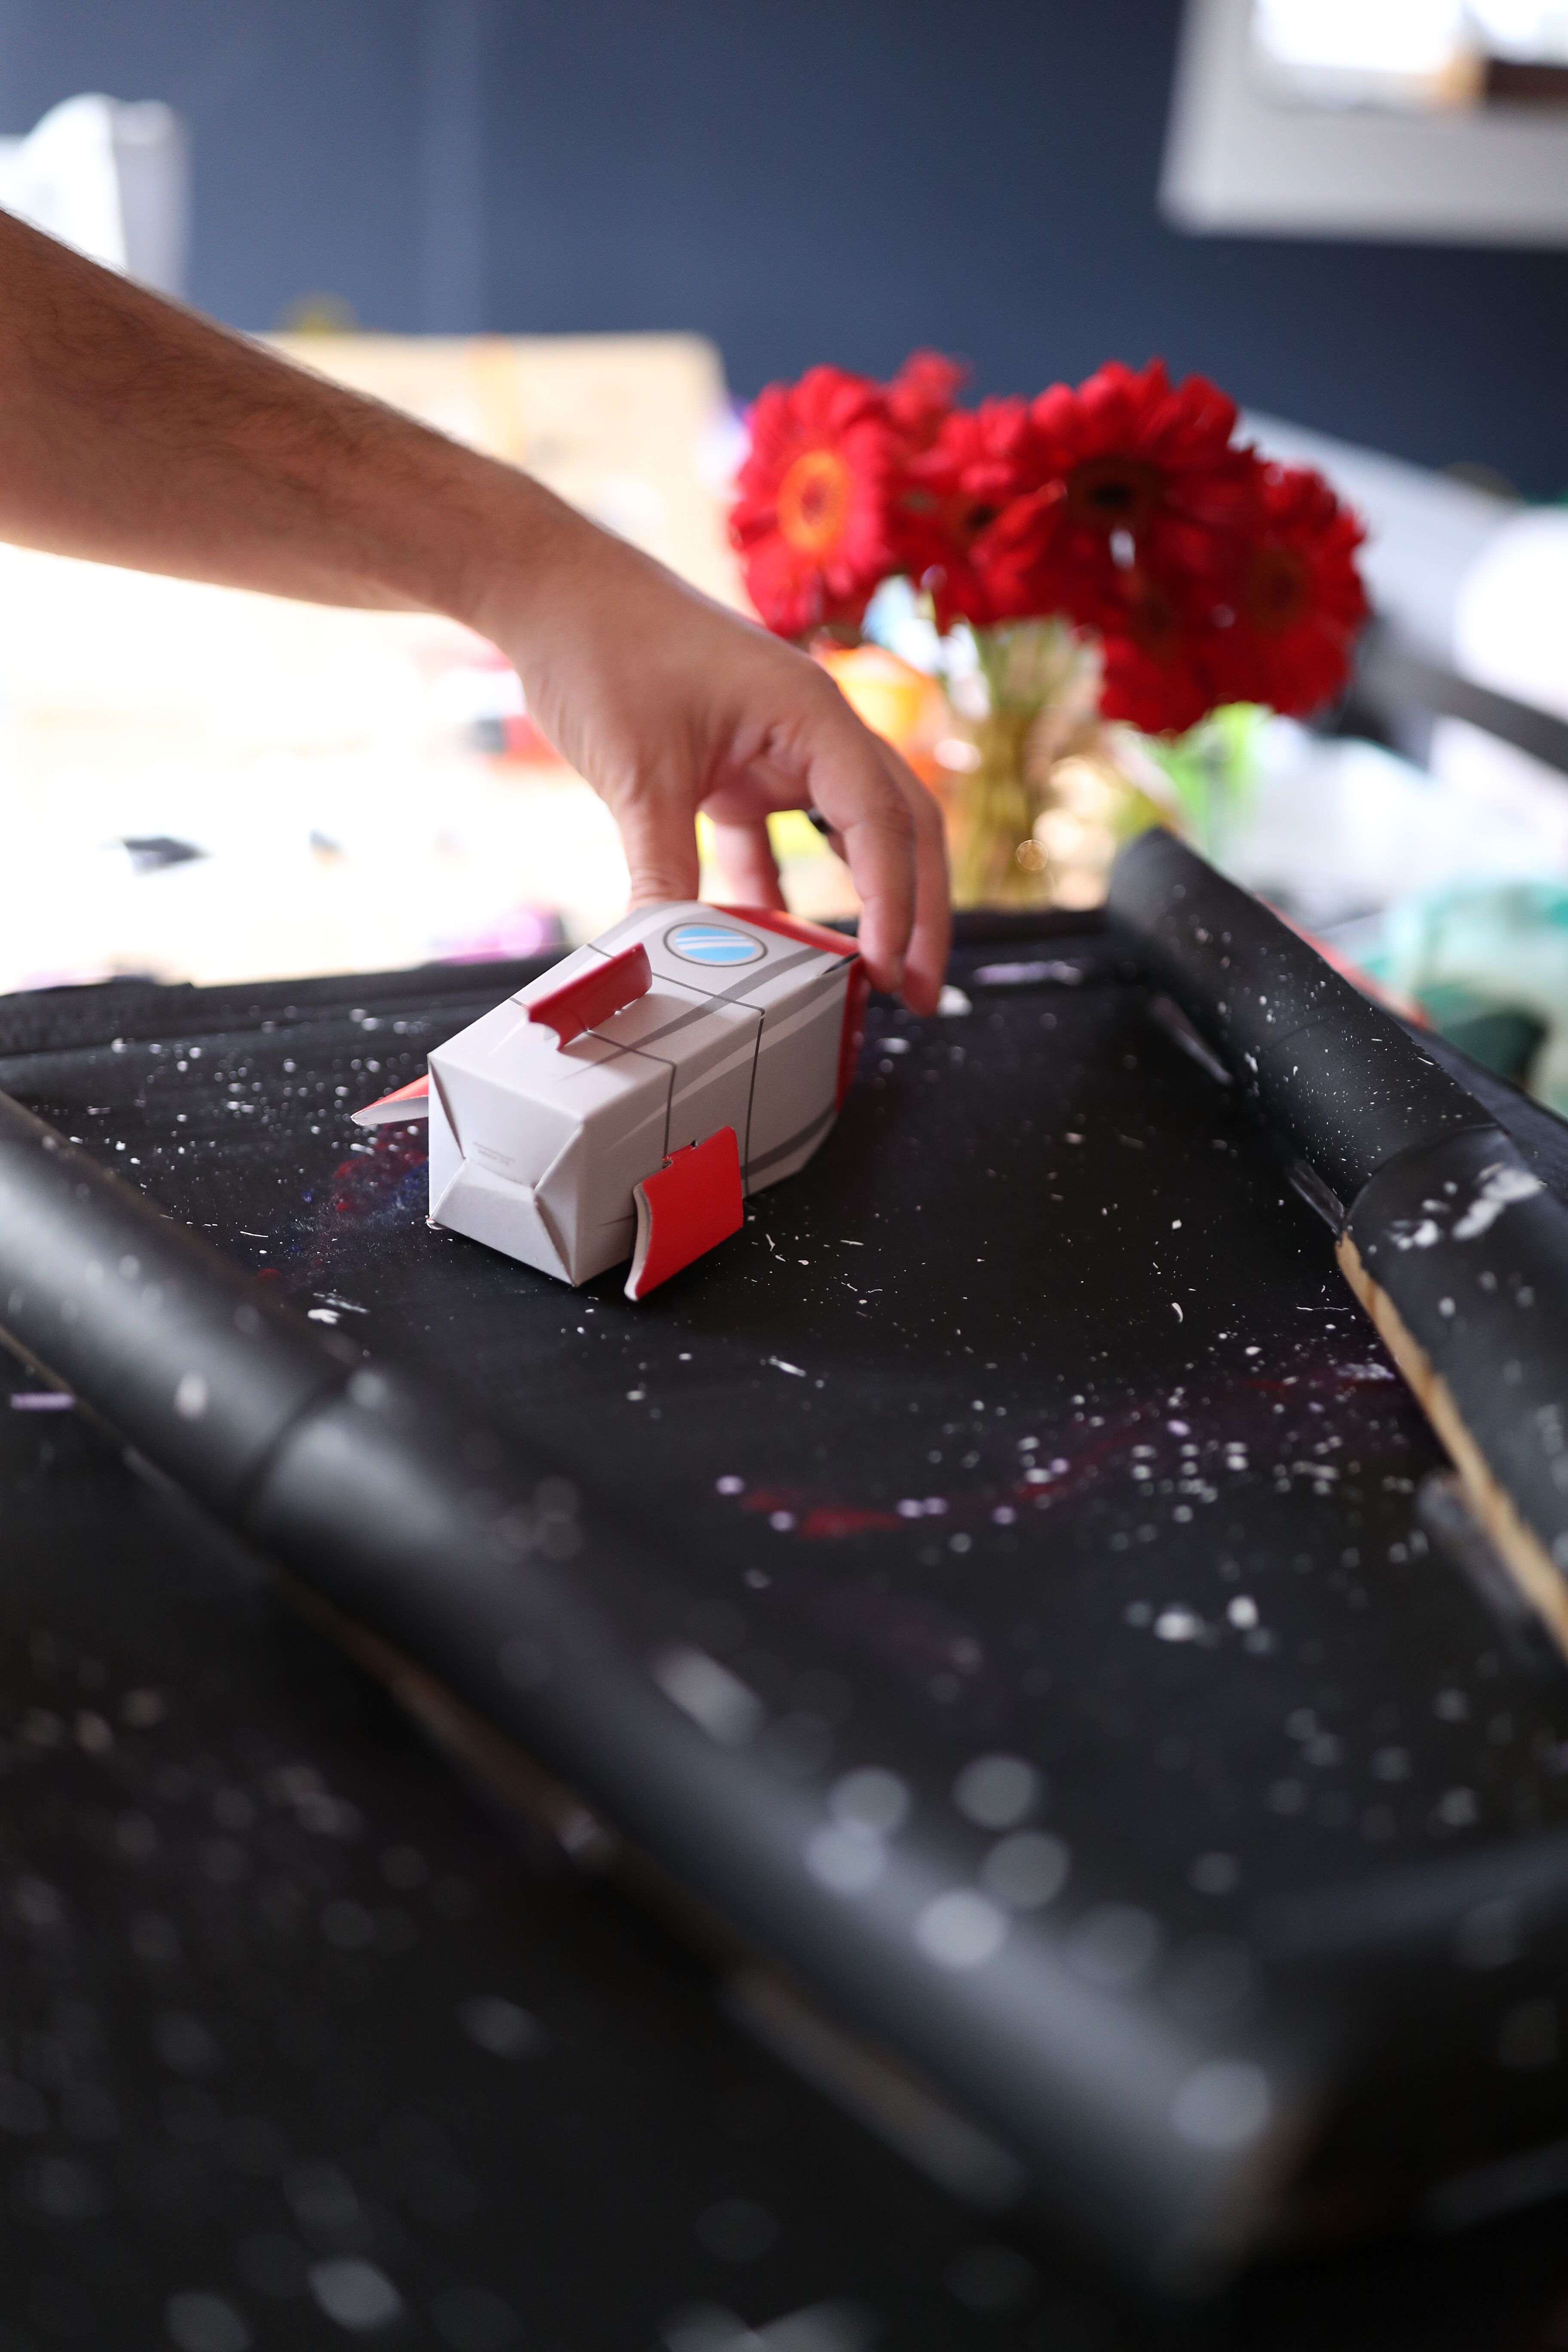
Step 10: Add your stickers and any space-themed objects you have around the house. I had a rocket ship “goodie bag” from a birthday party, so I taped that on for a pop of colour.

Step 11: Tip the box right-side up and do a practice run with your ball, making sure it rolls from the top to the bottom without getting stuck. This is why I use tape instead of glue, as it’s pretty tricky to fix.
Step 12: Let your kids try it out!
Pretty simple, right? This project took just under two hours to complete, but if you decide to avoid painting and just let your kids draw on the box with crayons or markers, you’ll be finished and playing with it in less than twenty minutes!
If you decide to recreate this project, do me a favour and upload the picture of Instagram with the hashtag #YourTrashIsMyKidsToy. I’ll make sure to share my favourites below!

In the meantime, stay crafty.

Credit: These photos were taken by my talented friend, Ramone Michero.

0 comments on “Your Trash Is My Kids Toy”