
I was raised by a Home Depot Dad.
And guess what? It definitely rubbed off on me.
Besides Michaels, which I obviously consider my church, The Home Depot is the best place on earth if you’re really serious about arts and crafts.
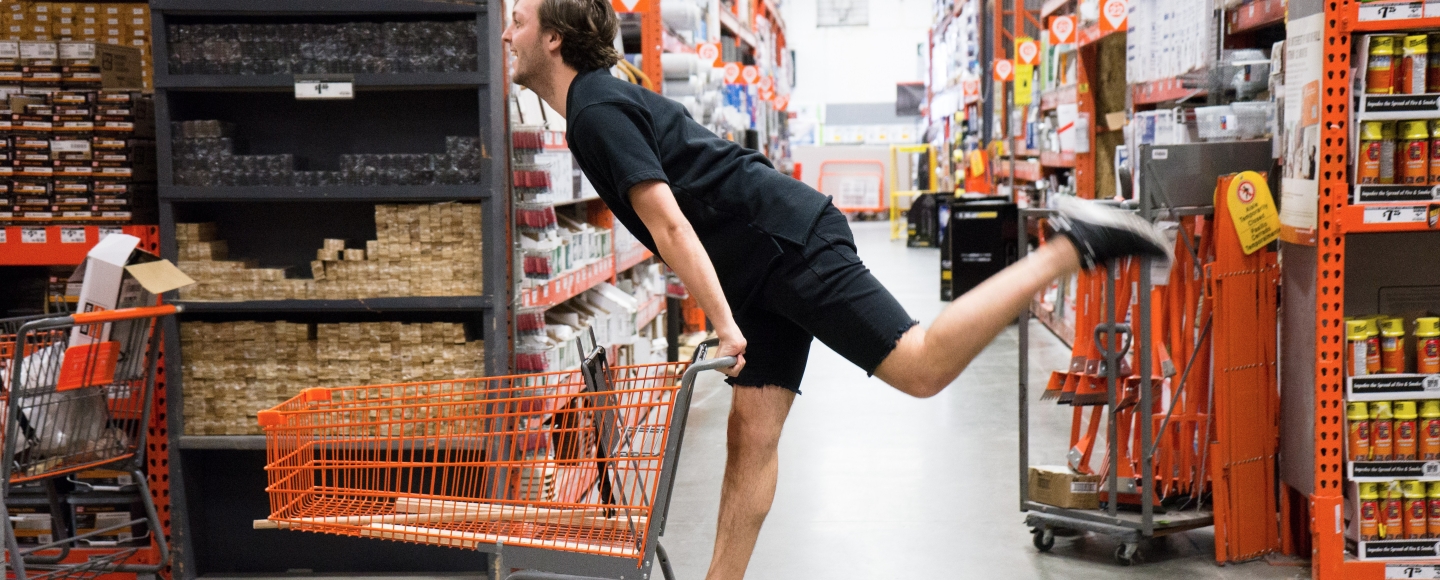
Forget the vision you have in your head of a macho workshop. This place is for everyone. They have the widest, longest isles you’ve ever seen (perfect for gliding your shopping cart down), and passionate employees in adorable orange aprons whose only mission in life is to nerd out with you on your DIY project.
So today we’re headed to The Home Depot to build our very own Baby Gym for Part 2 of my Nursery On a Budget series.
***
Before diving into the actual project and what you’ll need to purchase to bring it all to life, let’s talk a little bit about what a Baby Gym is and why so many parents are obsessed with them.
I recently learned that between 6 weeks and 4 months, babies begin experiencing what’s called Primary Circular Reactions, which are basically repeated movements that all babies do initially by accident. Then between 4 and 8 months, babies begin intentionally repeating and adding onto those movements, helping to form logic and a basic understanding of cause and effect.
Another really interesting rationale for purchasing (or making) a Baby Gym is the impact one may have on developing hand-eye coordination. Babies experience a natural reflex called ATNR. Basically, when they turn their head to one side, that arm extends in the direction of their gaze. The opposite arm will then bend up towards the baby’s head. A Baby Gym encourages them to use that ATNR in a more functional manner as they lay on their backs and grab for the toys above.
And if that wasn’t enough, Baby Gyms have also been praised for helping children develop two-hand coordination, hand dominance, and for stimulating their senses as they grow.
Basically, Baby Gyms are badass developmental tools that happen to be really cute. What’s not to love?
***
Now that we’ve got that boring stuff out of the way, let’s get crafting.
Step 1: Head to The Home Depot
First things first, take a deep breath when you walk in. Doesn’t that place smell good?
After that, head to the Building Materials department and look for the Lumber & Composites isles. Among all the other larger wooden boards, you’ll find smaller precut lumber. Because I wanted to keep this project simple and cheap, I’m suggesting that you buy the following items which will not require you to use a saw of any kind:
- 4 Red Oak Boards (0.75 in x 1.5 in x 24 in)
- 1 Red Oak Hardwood Round (3/4 in x 3 feet)
Once you’ve snagged those items, head over to the Chain & Rope isle, which should be hidden somewhere in the Hardware department. My Dad was an Everbilt loyalist, so I’ve become one too – hooray for brand loyalty passed down from generation to generation!
To replicate this exact Baby Gym, pick up the following items:
- 1 White Diamond Braid Nylon Rope Bag (3/16 in x 50 ft.)
- 1 White Twisted Polypropylene Mason Twine Bag (#18 x 225 ft.)
And that’s it from Home Depot. Feel free to check out after you attempt an arabesque on your shopping cart. No, seriously. Do an arabesque on your shopping cart!


***
To complete this project, you’ll need some other things. If you don’t already have them at home, pick these items up at The Depot of Michaels:
- A drill
- Sandpaper
- A pair of scissors
- Various sized wooden beads (I got mine from Michaels)
Step 2: Drill
Because we purchased wood that doesn’t require cutting, the only real tool you’ll need for this project is a drill. Find a bit that matches the size of the hardwood round you purchased (3/4 in. in my case), and make an X with a pencil one inch down from the top of one of the Red Oak Board.
Then place two pieces of wood on the ground and lay the piece you’re about to cut across them both so that the wood is perpendicular to the floor. Drill through the wood slowly, and sand down the edges of the newly cut hole when you’re done.
This simple step is repeated four times until all the legs of the Baby Gym are complete.
You’ll need to drill four additional holes, but with a different sized bit this time. It’s completely dependent on the types of string you have, but in our case you’ll need to find a bit that can fit the 3/6-inch nylon rope you have.
Measure 13 inches down from the top of the legs, which should now have holes in the top them, and slowly drill through them. Again, sand down the edges to eliminate potential splinters and set the wood aside.


Step 3: Assemble your gym
This step is pretty self-explanatory. Divide the stack of Red Oak Boards in two pairs, and then line each stack up so that the holes meet at the top and the middle of the boards. Then push your Hardwood Round through one set of boards, and repeat the step on the other side.
Stand the gym upright and position the four legs so that they make two matching triangles. Then run the 3/6-inch nylon rope through the smaller holes so that the Baby Gym stands on its own at the desired height. I wasn’t sure what to do here if I’m being honest, so I just guessed the angle. And so should you. Just remember that a baby (or babies in our case) will be lying underneath it, so you’ll want the angle to be small enough that the gym has some nice height to it.
Once you’ve picked your desired angle, tie extremely tight knots on either side to hold the gym in place.
Step 4: Decorate your gym
I decided to use wooden beads I found at Michaels for this project, but you should feel free to leverage other baby-safe decorations to bring your vision to life. In fact, a lot of online bloggers stress the importance of using color in your Baby Gym if you’re planning on leveraging this tool for child development purposes, so feel free to experiment.
I wanted diversity of height, color and textures for my Baby Gym, so I experimented with different combinations of beads until I was satisfied with five options that I felt worked well together. I made sure to use my Boy Scouts skills to tie tight knots, so the beads won’t fall on my twins when they bat them around. Because child safety is paramount!


And that’s it. A Baby Gym fit for a, well, baby.
Have you built your own toys for your newborns? If so, what did you make? Were they cost effective crafts? I’d love to hear from you!
Until next time, stay crafty.


Great project! These Baby Gyms certainly keep babies entertained. Thanks for sharing Sean.
LikeLiked by 1 person
I love it, but all those beads make me nervous because of the choking hazard, especially with multiples! more of the wooden rings and fewer of the small beads! https://onsafety.cpsc.gov/blog/2011/12/20/small-parts-what-parents-need-to-know/
and yes, what is it about the aisles in Home Depot that make you want to glide on the back of the shopping cart ~ love your arabesque 🙂
LikeLiked by 1 person
Pingback: DIY Baby Gym - Documenting The Drews - Dad makes
this was fun to make while saving me money! Plus I just used other toys and rattles to hang from it so the choking hazard isn’t a problem. I also shortened the strings so strangulation doesn’t happen. Love it!
LikeLiked by 1 person